Garrattfan's Modelrailroading Pages
NS 6200 class
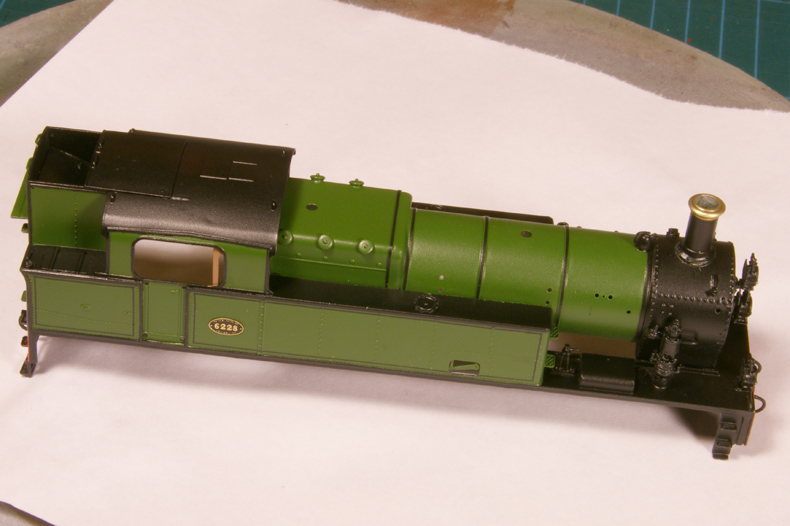
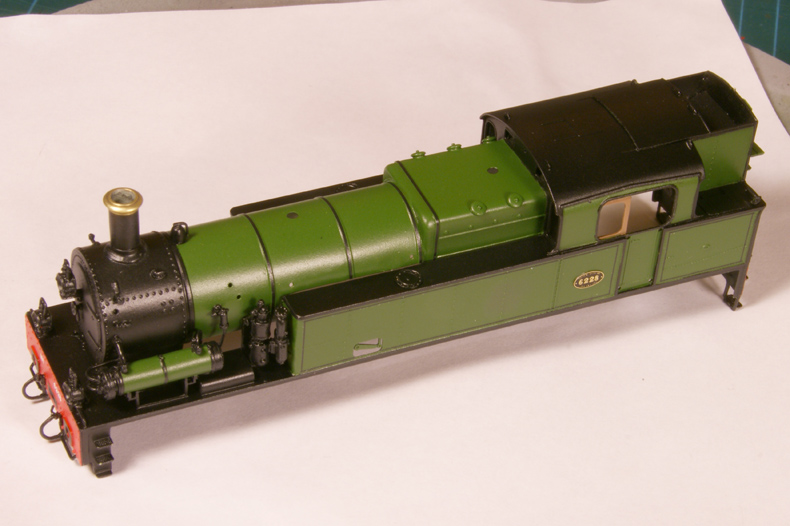
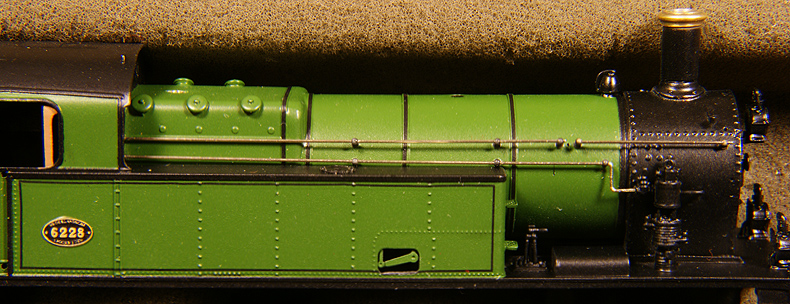
Completion of the superstructure NS6228
Now the loco has been numbered I need to think about completion of the locomotive. During construction there is always a host of jobs to be done and it often is not so very important in which order you do it. If you forget something for some reason there is usually an opportunity to correct that. But when the model nears its completion there are only a few jobs left which by their nature more or less need to be done in a certain order. Questions arise. What remains to be done? Do I need to that after applying a clear coat or before? Does it need gloss coat or a dull coat? etc etc. So I have developed the habit of sitting down, laying out all parts and boxes that remain and study the model for as long as it takes and write an finishing script. Once I have written down that script, I re-read it and check it from the parts laid out on my desk if it all fits together.
In case of the NS 6228 the script looks like this Superstructure
Chassis
Final assembly
Enough talk. Let's get to work
|
|
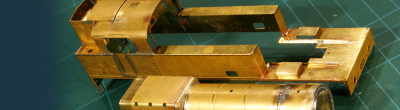
Superstructure |
|
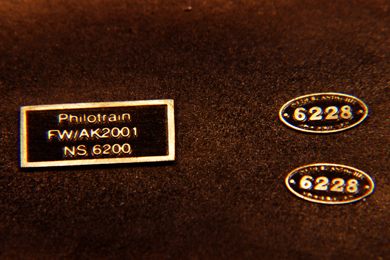
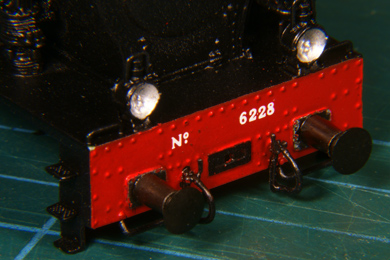
Number plates |
|
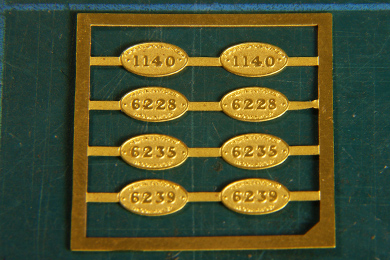 |
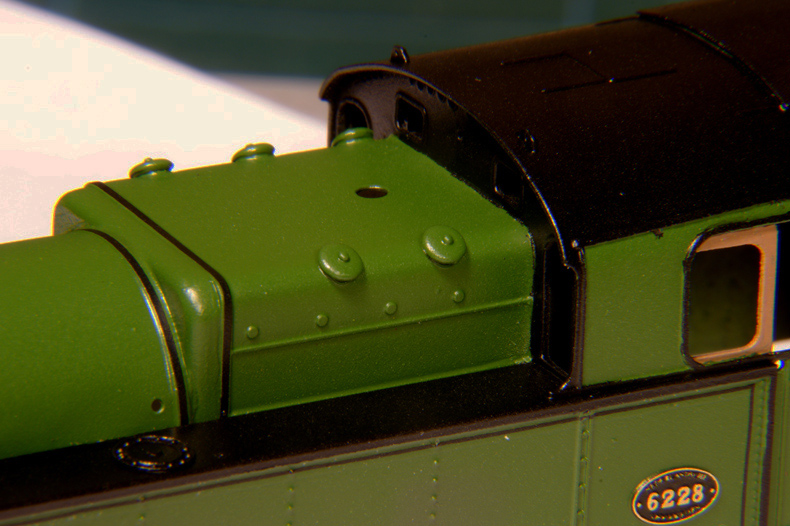
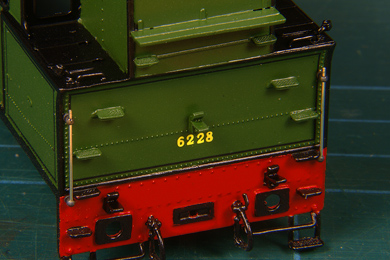
The number plates are supplied in four pairs. I chose 6228 for the simple reason that the sheet of number I used for the front buffer beam and on the rear was originally produced for the 8826. So numbering my loco 6228 would result in the least loss of numbers. |
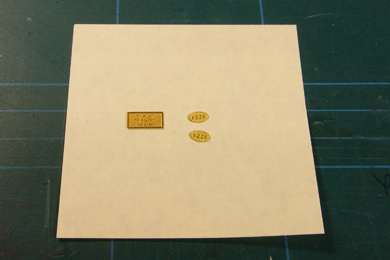 |
I first glued the plates to a sticky paper. |
 |
and then sprayed them black. The stickiness of the paper prevented it from taking off during spraying. |
 |
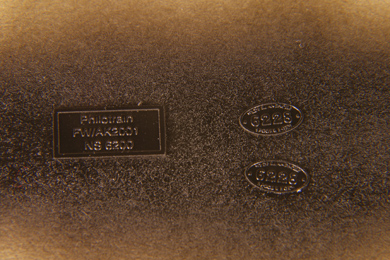
Next I sanded the plates down to get the brass colouring on the edges back. |
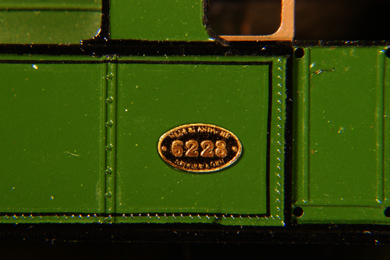 |
A tiny drop of epoxy glue and some careful positioning and one more job is done. |
Dull coat |
|
Honesty bids to say that airbrushing is my biggest challenge. I always struggle with the materials. I still find it very unpredictable how paints and coats will behave, and I am still searching for the best materials. Giving your locos a final clear coat is especially nerve wrecking. After all, it is the last thing you do after all the hard work of building, cleaning, base coating, painting in at least three layers and then lining and numbering. It always makes me nervous. If I fail, there is twenty to thirty hours ahead of doing again what you already did....
For Dutch steam locomotives I think that Phildie's paints and varnishes are the top. Still, I had quite a struggle with the clear dull coat of this brand. But service and support from Phildie has been superb! At long last I had the satisfying result shown below. Heed the advise on the label to spray the model first with a thin, fine mist and let it dry before you work the entire coat on. |
|
 |
|
 |
|
 |
|
 |
|
 |
|
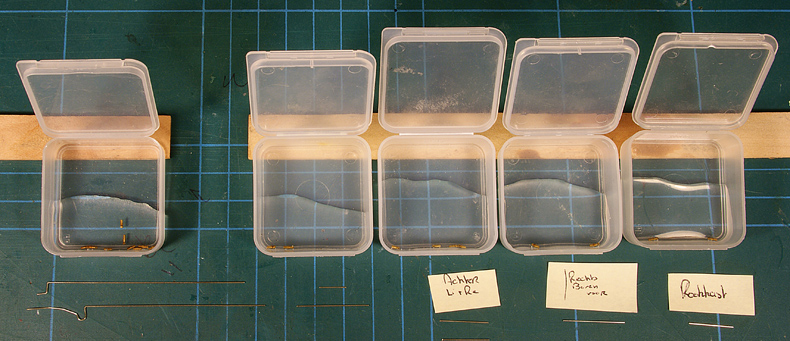
Handrails |
|
The shiny brass look of the handrail knobs needs to go. The Dutch railways had black knobs and clear metal handrails. I had carefully kept the knobs and their respective rails in small boxes and added small notes to remember what should go were. I used this boxes to add the chemical to blacken the knobs. |
|
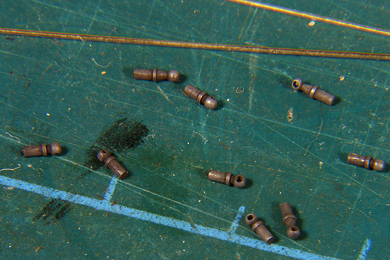 |
The knobs after several rounds of blackening.
Admittedly the colour will not go anywhere near black. Anthracite is the best description. It will have to do.
On my NGG16 I soldered the knobs before painting to so consequently I painted them along with the model and then applied a black paint with a brush. This proved to chip very easily when adding the handrails. That is why I opted for blackening the knobs now. |
 |
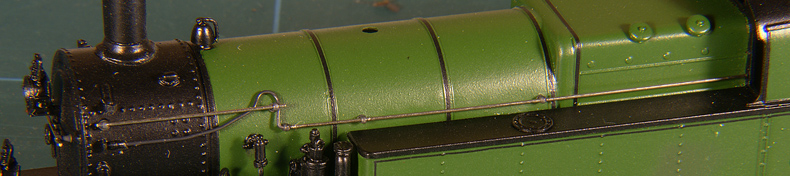
For the lower handrail on the right side I used short handrail knobs. The knobs are glued from the inside (in the boiler shell) with epoxy. The handrail is fixed in place by touching the place where the handrail enters the knob with a pin carrying a tiny dab of CA glue. The capillary action sucks the droplet in. |
 |
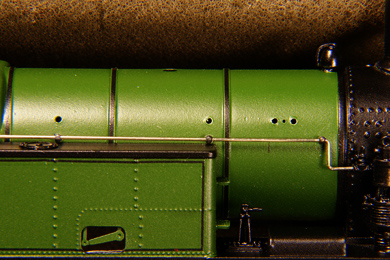
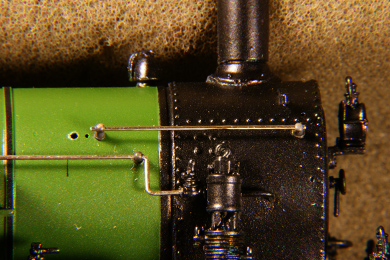
The upper handrail on the right side has long handrail knobs. Note however that the short handrail that passes over from the boiler to the smokebox has two different lengths of knobs, the long one on the boiler en and the short one on the smokebox. This is to compensate for the difference in diameter between boiler and smokebox. |
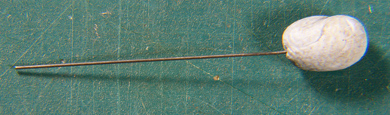 |
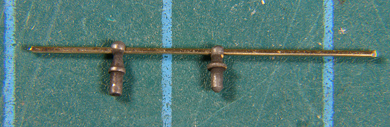
As the holes for these two knobs could not be reached from the inside of the boiler I opted to apply the glue from the front. I made this applicator of 0.3 mm steel. Thin enough to slide through the hole provided for the knob's base, which is 0.8 mm, and carry some expoxy glue with it. In two or three applications there is enough glue to hold the knob in place. |
 |
Done! |
The upper handrail on the boiler also in place
|
|
 |
Handrails on the rear (extreme left and right) |
Boiler firemen's side. In which order the rails are installed is inconsequential for most of the rails except for these two. It is easiest if the one with the curl goes first. |
|
 |
Handrail near the cab doors (both sides of the loco) |
 |
And the last one Smokebox handrail done |
Headlamps |
|
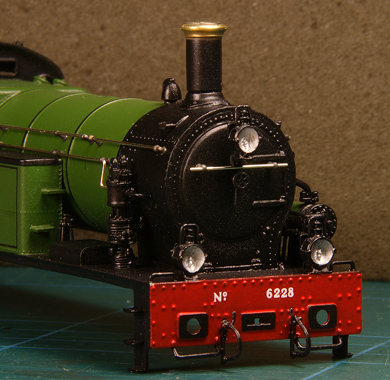 |
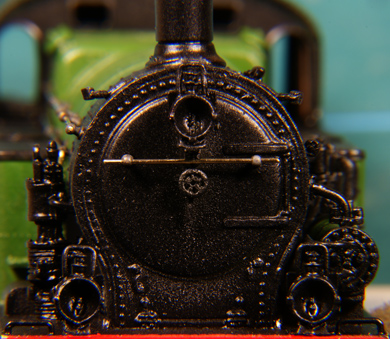
Headlamp reflectors painted silver. The loco now has a face |
Copper work |
|
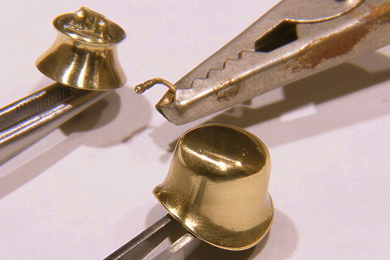 |
The copper parts had obtained a nice tan over time. You can opt to use it. Real life locomotives had copper parts which tended be more reddish than brass. But my brass parts were stained so I had no choice but to polish them. After that I gave them a gloss clear coat to prevent any further discolouration. |
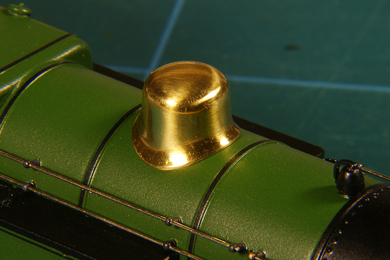 |
Dome installed with the hidden nut. |
Glazing |
|
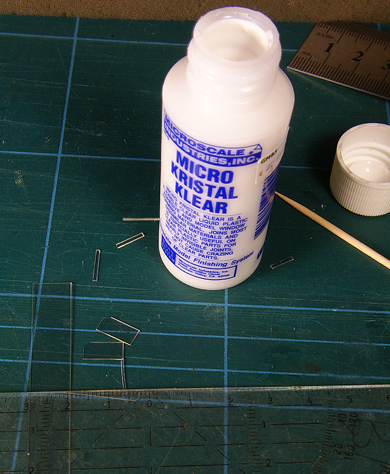 |
Cutting the windows to size and glueing them in place with Kristal Klear |
 |
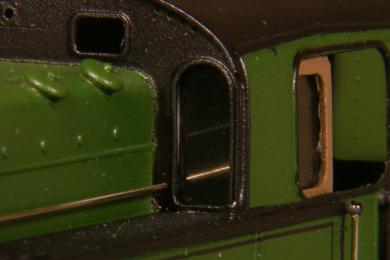 |
The freshly cut and glued windows in place, mirroring the light
|
|
Last jobs |
|
 |
Buffers installed
I used a hybrid technique for glueing the buffers. Using epoxy is the stronger and more robust solution but would require a prolonged time of supporting the buffers during curing of the glue with all risks that it goes with it. Cyanoacrylate glue is fast but is will not last. I did both. I used CA the fixate the buffer temporarily so I could work worry free with the epoxy for the permanent solution.
|
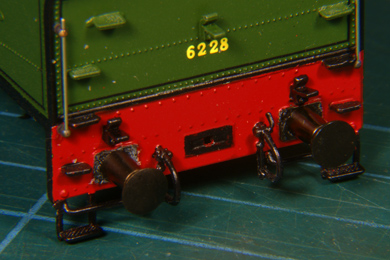 |
The buffer plates had been sprayed over during the painting process. That proved to be a miscalculation. The paint chipped as soon as I tried to glue the buffers with CA. So I cleaned the buffer plates bare and then glued the buffers in place. I will do some touching up on the buffer plates later. |
 |
Now all handrails and other equipment have been installed I can move the extra boiler weight of the ex-BR93 into the smokebox. A dab of expoxy secured it. |

Sign my
GuestBook